I’ve come a far way with my training. I don’t usually get many first anymore because I’m working on perfecting my flying skills, and not learning anything new. However I just finished a flight with a new first; night flight. Night flight is mandatory for students to obtain, and in order to get their private pilot license, we need at least 5 hours of it. I just got 1.9 hours of night time so far.
Night flight is typically conducted the same as day flying. The major difference is that more emphasis should be made at looking at the flight controls while in the air. Just like flying in the clouds, or under foggles, night flight doesn’t offer many ground references. There isn’t a horizon, and on moonless nights, it could appear like you’re flying in a black hole. It’s important to understand the illusions associated with night flight, and also IMC conditions.
I got to the airport around 5:30pm local time. I did the normal preflight briefing; paperwork, weather, and weight and balance. After I got the keys for N157LH, I walked across the ramp to preflight the airplane. As I unlocked the door, the sun was just going behind a hanger. In order to get credited with night time, you need to be flying after 30 minutes past the sunset time. So with the sun setting at 6:00 pm, I needed to wait until at least 6:30 to takeoff. If I took off at 6:25, than those 5 minutes wouldn’t count as night time. As I preflighted the plane, the sun sank lower and lower until it was completely set. By 6:20 my instructor and I were in the cockpit. It takes more than ten minutes to start the plane, taxi to the runway and go through all the checklists so we weren’t worried about waiting the 30 minutes.
Taxiing
The biggest thing I noticed about taxiing at night is that even though there are the blue taxi-way edge lights, it’s still difficult to see where an intersection is. Unless looking right down the taxi-way, adjacent lights, for an adjacent taxiway look out of place. Other than that, it’s the same as taxiing during the day. After I got to the runway hold position, I set the panel lights for minimum brightness and got everything ready for my flight; lights on, flashlight ready, maps unfolded. I radioed to the tower and received the takeoff clearance. As I taxied onto the runway, I looked down the runway. The sight of looking down a 6000 foot runway with the edge lights on is remarkable. It looked like the lights went to infinity.
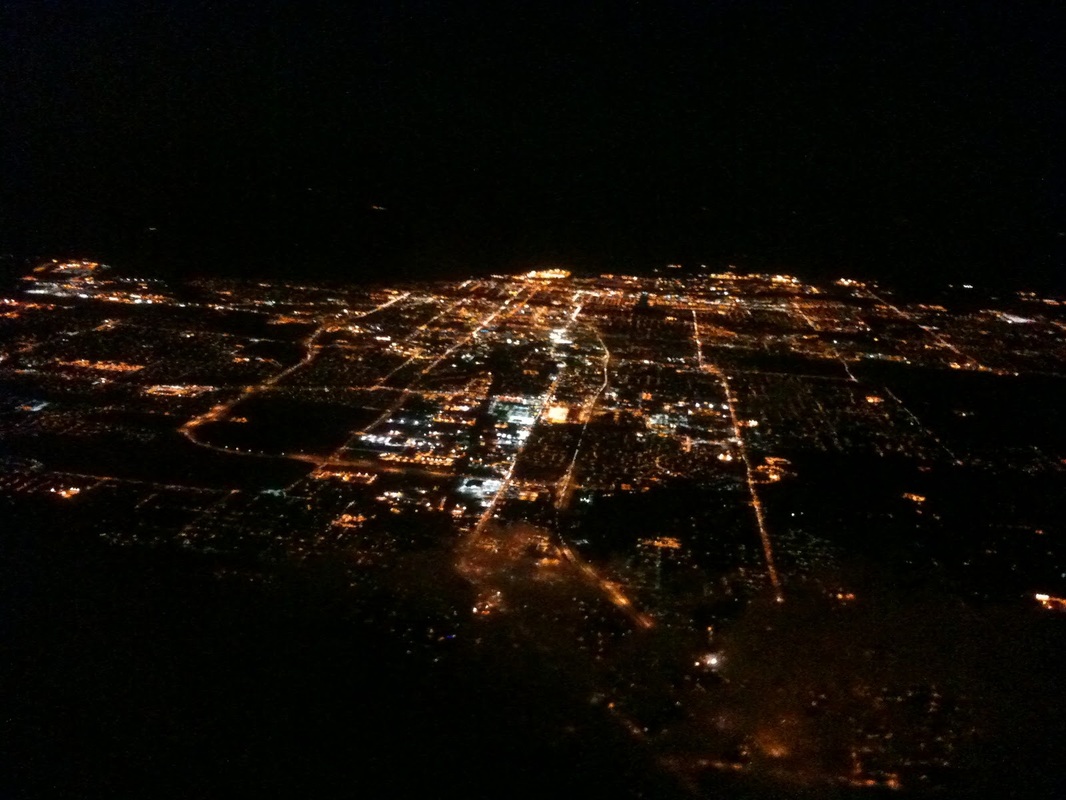
A similar scene to what I saw
| 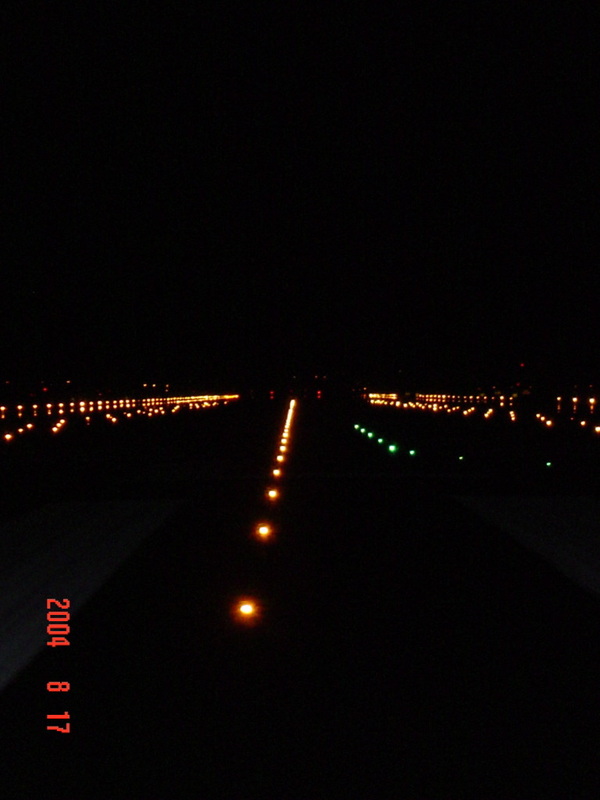
Looking down a runway
| 
Blue taxiway lights
|
Flight
As I climbed out of the field, I couldn’t help looking out the window. The sight was exactly what pictures and movies make night flying look like. There were intersections of roadway lit up, bodies of water without lighting, and I was able to see the entire outline of Long Island by the time I was at 2000 feet. I monitored the instruments carefully and kept enjoying the view. As I made my way out to the practice grounds, my instructor and I went over the illusions. Coriolis, elevator, somotogravic, and all the others. Once in the practice area, I practiced steep turns. I got the plane configured for the maneuver and went over the procedure to execute a steep turn in my head. 45° bank, maintain 3000 feet and keep my airspeed at 90 knots. I rolled into a left steep turn. I forgot that I was flying at night but realized once I started the maneuver. Without the horizon, it’s hard to tell if the nose is pointed down or up. I kept fluctuation between 2900 feet and 3100 feet. As I rolled out, and leveled the wings, I checked the instruments; not bad for my first time, and at night. After practicing a steep turn to the left, I practiced stall recoveries. I did well on these, mainly because it’s almost the same as doing them under the hood. It’s even a little easier since I have a few ground reference points.
As I was flying I realized that while it’s the most important thing, altitude depiction is very tricky at night. While I was at 3000 feet, it seemed like I was at only 1000 feet. And as I descended to 1500 feet, my perception of height above the ocean wasn’t any different. Also, lights can be tricky. At one point I thought that a string of lights was the horizon. However, my instructor corrected me. The lights I saw were actually a line of airplanes inbound to land at Kennedy Airport. There were always at least 10 lights in line, stretching over 100 miles (my instructor said. I couldn’t tell the distance). Finally, after getting a little more use to flying at night, we headed back to Republic for landings.
Landings
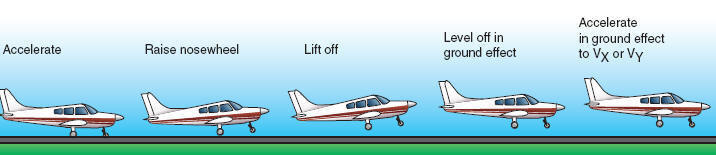
Like everything else, night landings are the same at night as during the day. However, the perception of the runway changes drastically. The first landing I did, my instructor had to put power in himself because I would have crashed well before the runway threshold. After 2 or 3 attempts, I got the hang of it. The trick to night landings, or at least my philosophy, is to come in high. This allows you to point the nose down at the runway. Doing this allows the lights to shine on the runway. Seeing the runway is obviously better than not seeing it, so the landing can be made more efficiently.
After 1.9 hours, we taxied back to Farmingdale’s ramp and locked the plane up. My instructor was happy with my first night flight, so I was as well. My next night flight isn’t for another month or so, but next is cross country work.
As I climbed out of the field, I couldn’t help looking out the window. The sight was exactly what pictures and movies make night flying look like. There were intersections of roadway lit up, bodies of water without lighting, and I was able to see the entire outline of Long Island by the time I was at 2000 feet. I monitored the instruments carefully and kept enjoying the view. As I made my way out to the practice grounds, my instructor and I went over the illusions. Coriolis, elevator, somotogravic, and all the others. Once in the practice area, I practiced steep turns. I got the plane configured for the maneuver and went over the procedure to execute a steep turn in my head. 45° bank, maintain 3000 feet and keep my airspeed at 90 knots. I rolled into a left steep turn. I forgot that I was flying at night but realized once I started the maneuver. Without the horizon, it’s hard to tell if the nose is pointed down or up. I kept fluctuation between 2900 feet and 3100 feet. As I rolled out, and leveled the wings, I checked the instruments; not bad for my first time, and at night. After practicing a steep turn to the left, I practiced stall recoveries. I did well on these, mainly because it’s almost the same as doing them under the hood. It’s even a little easier since I have a few ground reference points.
As I was flying I realized that while it’s the most important thing, altitude depiction is very tricky at night. While I was at 3000 feet, it seemed like I was at only 1000 feet. And as I descended to 1500 feet, my perception of height above the ocean wasn’t any different. Also, lights can be tricky. At one point I thought that a string of lights was the horizon. However, my instructor corrected me. The lights I saw were actually a line of airplanes inbound to land at Kennedy Airport. There were always at least 10 lights in line, stretching over 100 miles (my instructor said. I couldn’t tell the distance). Finally, after getting a little more use to flying at night, we headed back to Republic for landings.
Landings
Like everything else, night landings are the same at night as during the day. However, the perception of the runway changes drastically. The first landing I did, my instructor had to put power in himself because I would have crashed well before the runway threshold. After 2 or 3 attempts, I got the hang of it. The trick to night landings, or at least my philosophy, is to come in high. This allows you to point the nose down at the runway. Doing this allows the lights to shine on the runway. Seeing the runway is obviously better than not seeing it, so the landing can be made more efficiently.
After 1.9 hours, we taxied back to Farmingdale’s ramp and locked the plane up. My instructor was happy with my first night flight, so I was as well. My next night flight isn’t for another month or so, but next is cross country work.